🔔 Read us on Telegram — don’t miss the latest automotive news → t.me/motorhub_en
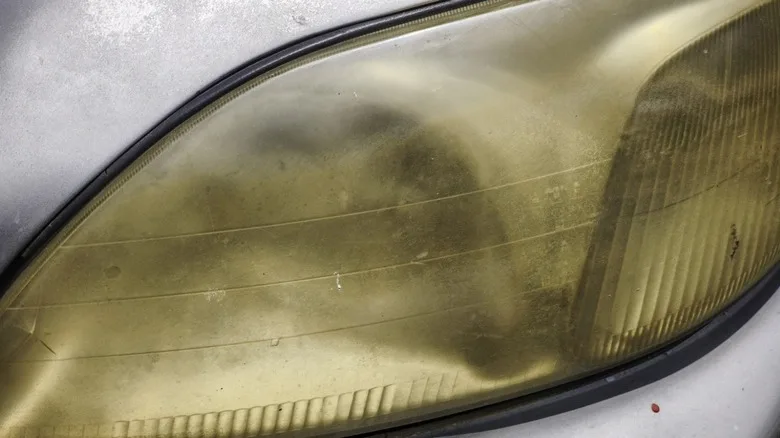
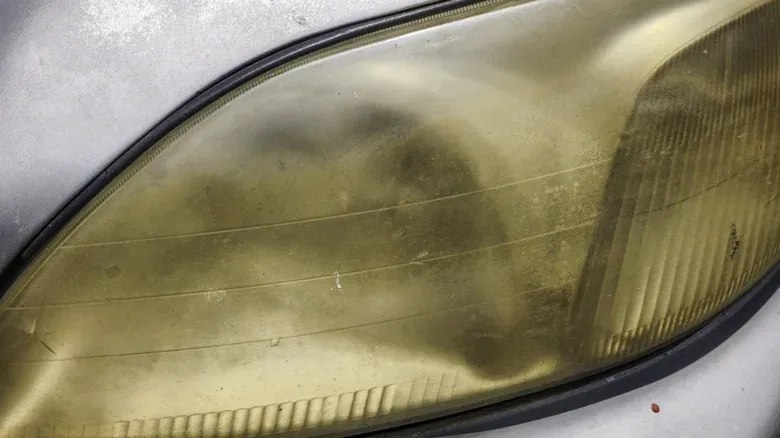
Headlight lenses degrade fast. Depending on climate, their protective finish can fail in as little as three to five years, leaving them yellowed and hazy even when the rest of the car still looks fresh.
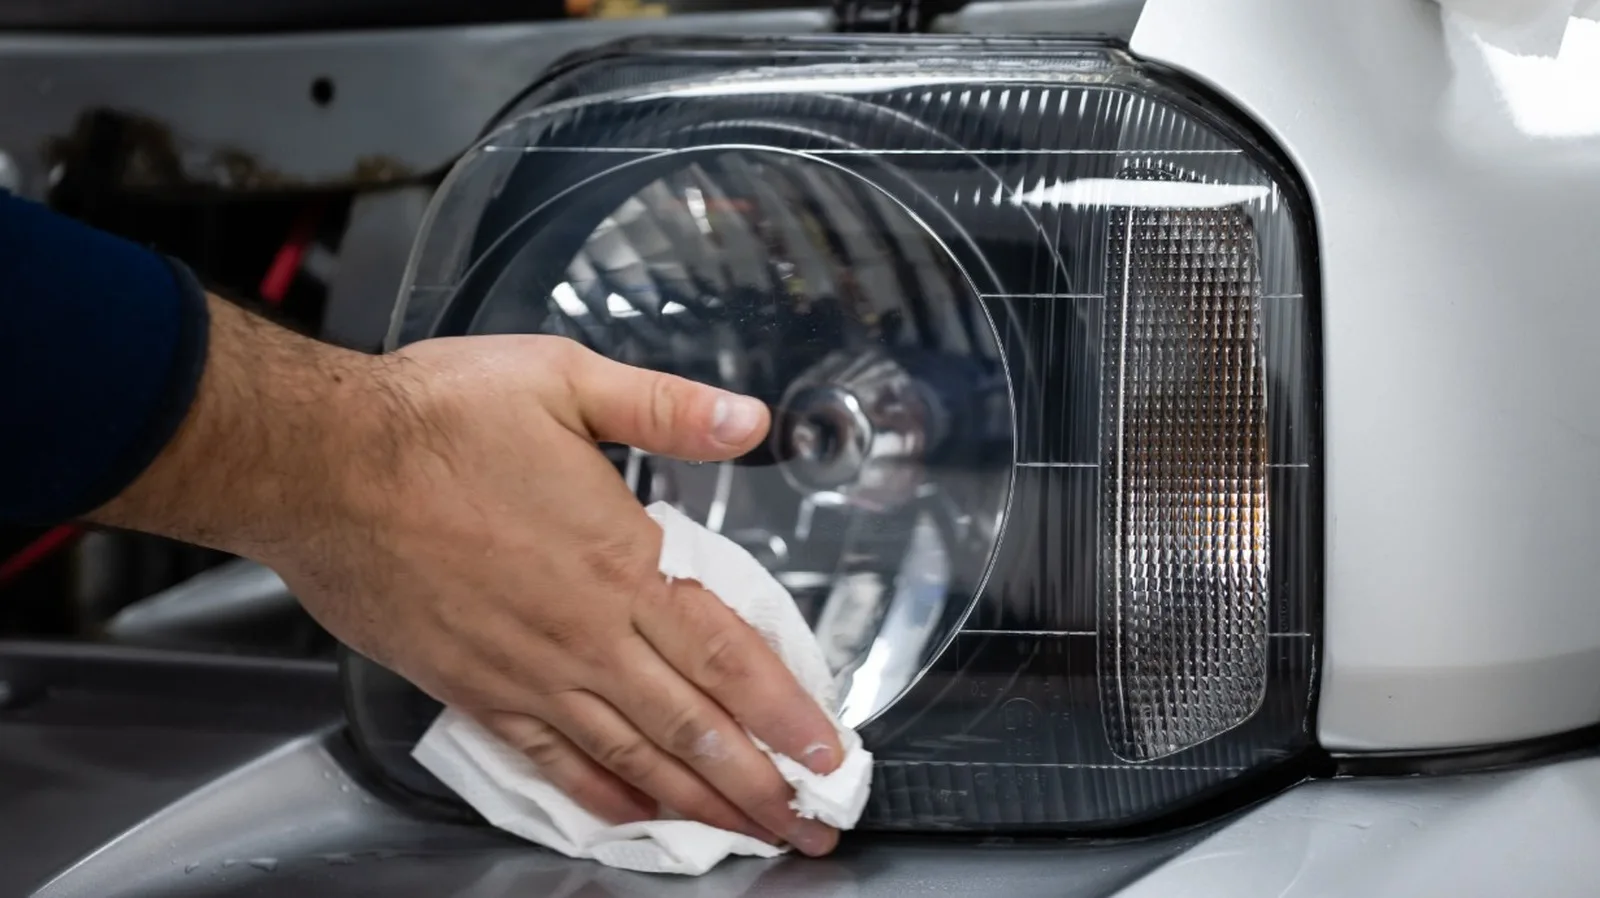
A dedicated headlight restoration kit can reverse most of that damage without replacing the entire lens, but only if you pick the right kit and follow every step precisely.
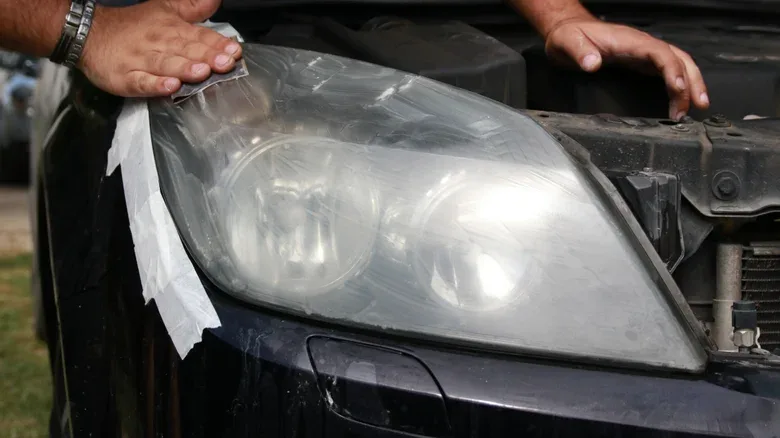
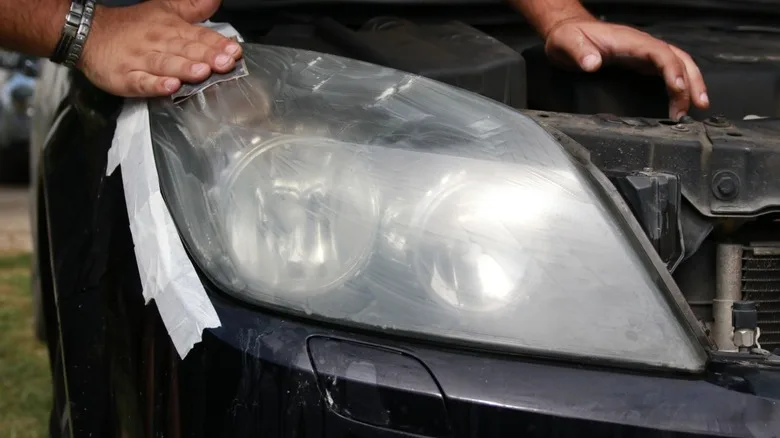
Not all kits are equal: the best ones include multiple grits of sandpaper and a proper UV-protective clear coat.
Cheap spray-on or home-brew solutions won’t last because they skip the critical UV layer that keeps plastic clear. The process is multi-stage and unforgiving of shortcuts. Start with a thorough inspection.
If the lens shows internal condensation, clouding, bubbling, peeling, deep cracks, pits or discolouration beneath the coating, the housing itself is compromised and a kit won’t fix it—you’ll need a replacement.
Once you’re sure the outer surface is the only issue, choose a kit that matches your comfort with tools.
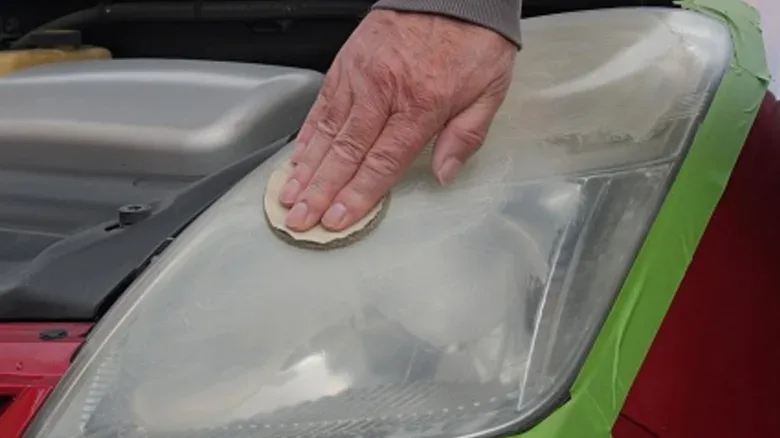
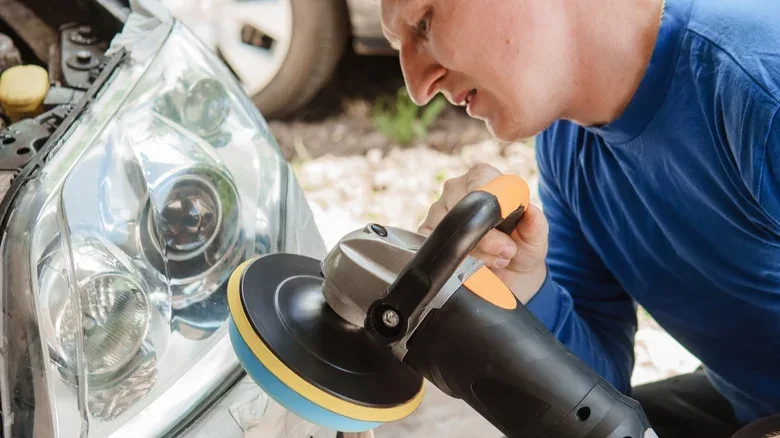
Some kits bolt sanding pads onto a power drill for speed, while others rely on hand sanding for control.
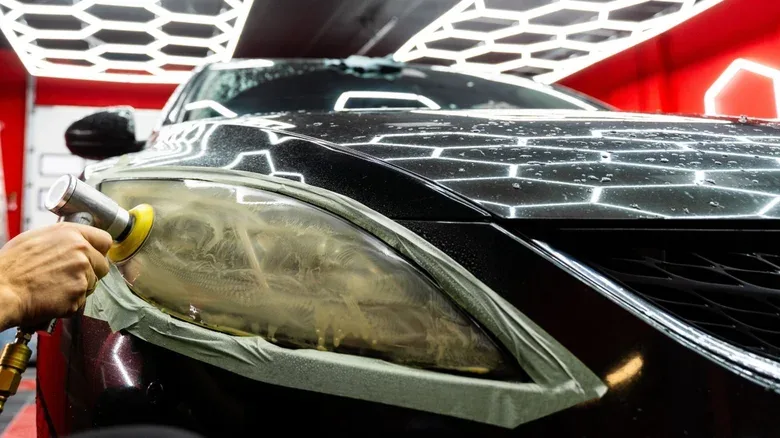
Drill-mounted options cut time but increase the risk of scuffing adjacent paint, so masking tape is non-negotiable. Clean the lens first with water or glass cleaner to remove dirt that could scratch during sanding.
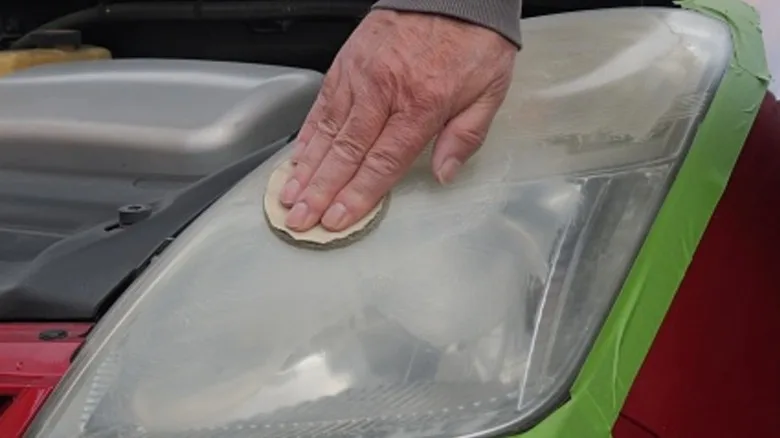
Use two layers of tape around the lens and, if possible, open the hood to protect the paint from plastic dust. Sylvania’s kit even recommends covering the engine bay. After prep, apply the kit’s activator or polish to strip the old UV layer and yellow stain.
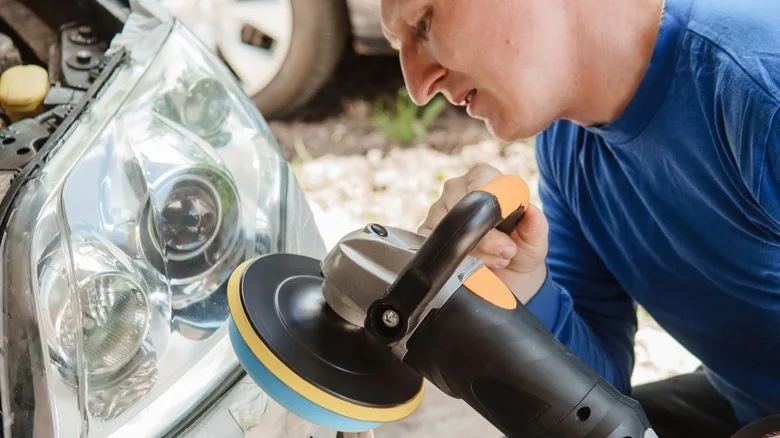
Then wet-sand in stages, starting with the coarsest grit (often 400) and working up to the finest (often 2,000). Each finer grit removes the scratches left by the previous one. Keep the lens wet with a spray bottle to minimise heat and haze. When the lens shows a uniform white haze with no yellow or clear spots, switch grits.
Some kits finish with a final compound to erase the last scratches before the UV clear coat goes on.
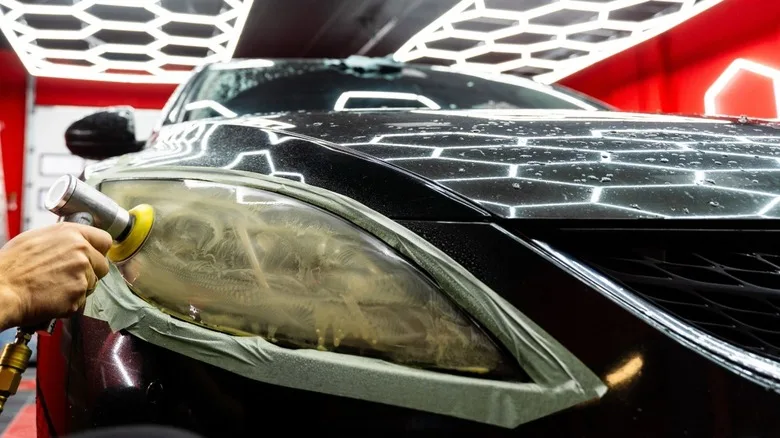
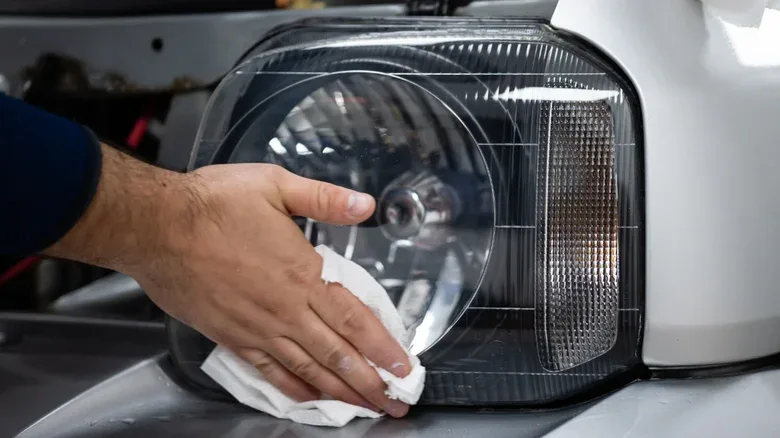
Apply the UV coat exactly as instructed—some recommend an overlapping crosshatch pattern for even coverage—and allow the full cure time before exposing the lights to rain or car washes. Skip any step and the results will haze out within months. Patience and attention to detail are the only shortcuts that work.
📱 Follow our Telegram channel for daily updates
Source: Jalopnik (Auto Culture & Tuning) (jalopnik.com)