🔔 Read us on Telegram — don’t miss the latest automotive news → t.me/motorhub_en
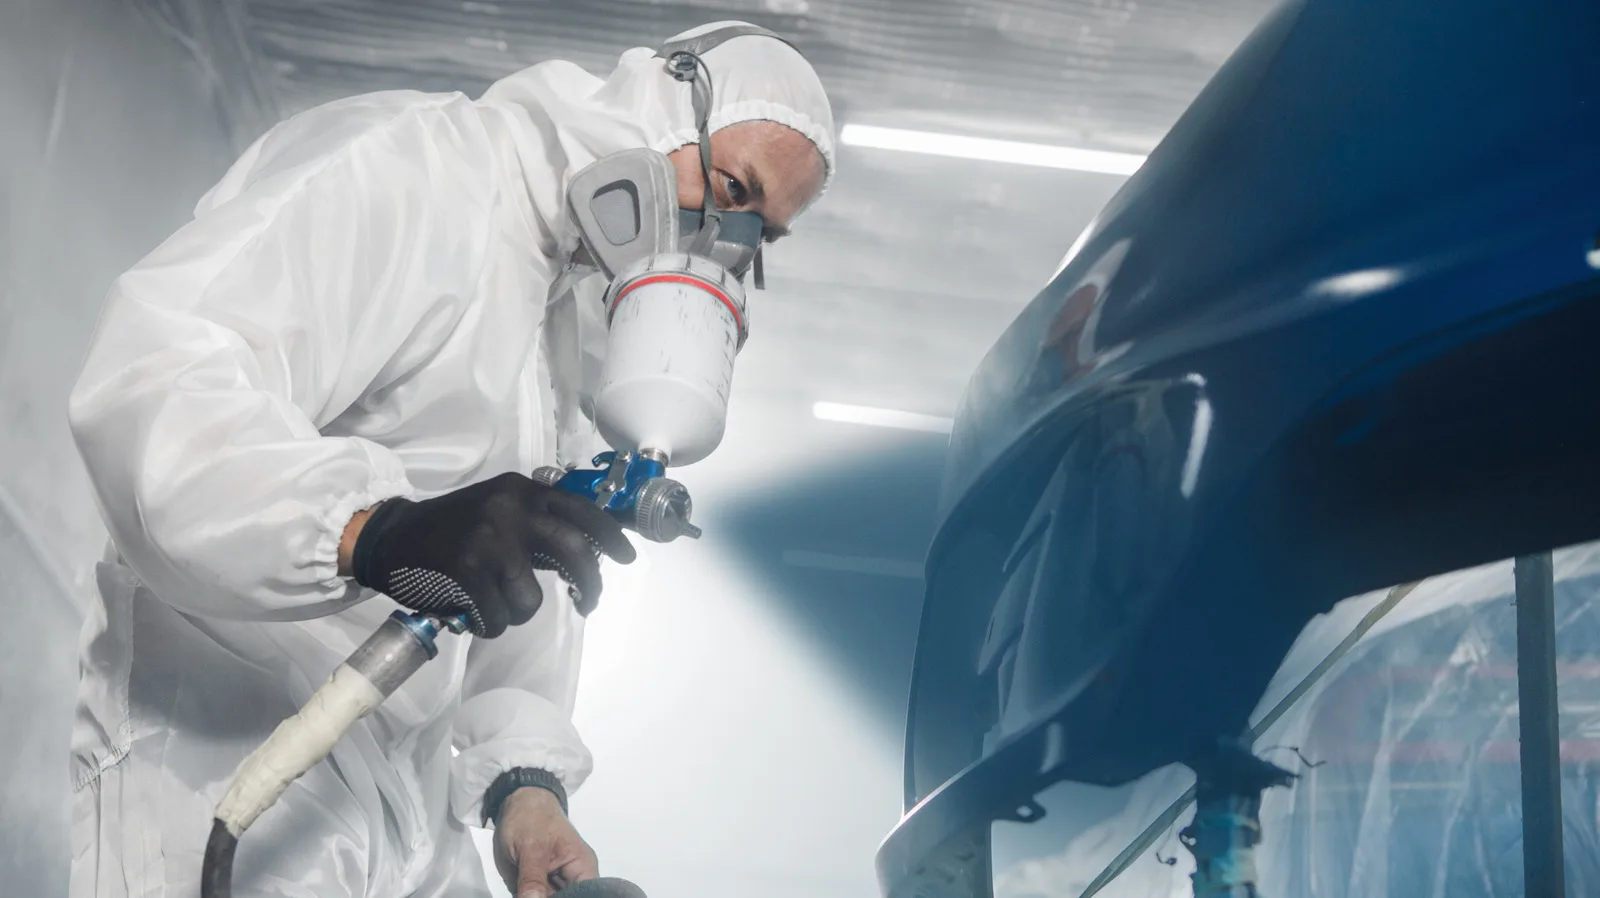
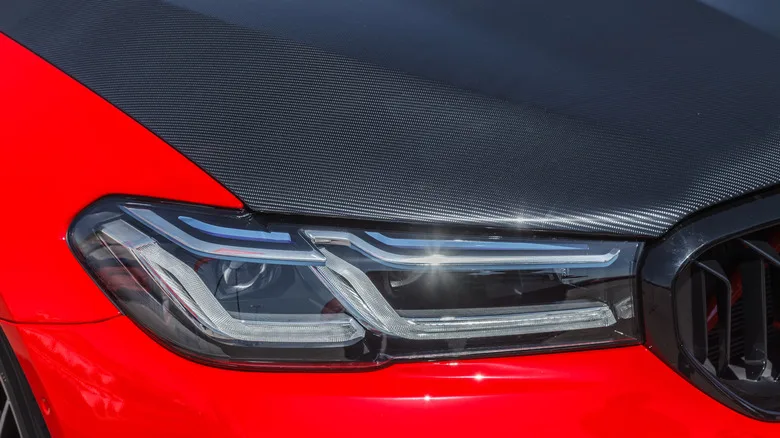
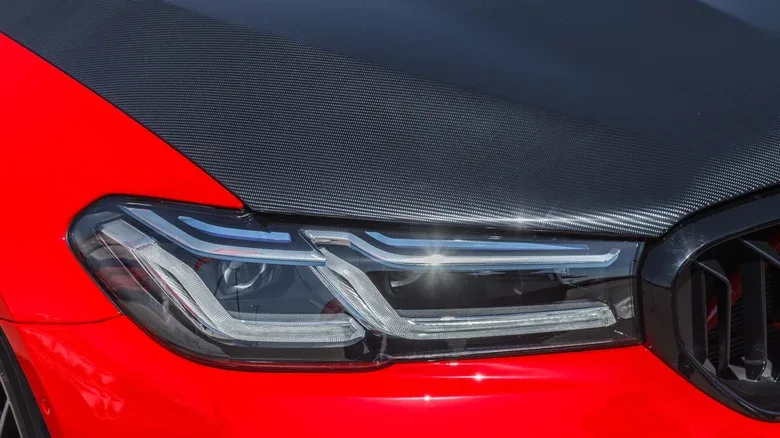
Carbon fiber’s exposed weave gives cars an exotic look, but painting it isn’t as simple as spraying a can of rattle-can paint. The material’s epoxy-resin surface is smooth and semi-glossy, which means paint won’t stick without serious prep work. The process mirrors painting metal or plastic, but the stakes are higher—mess it up, and you’ll ruin the part.
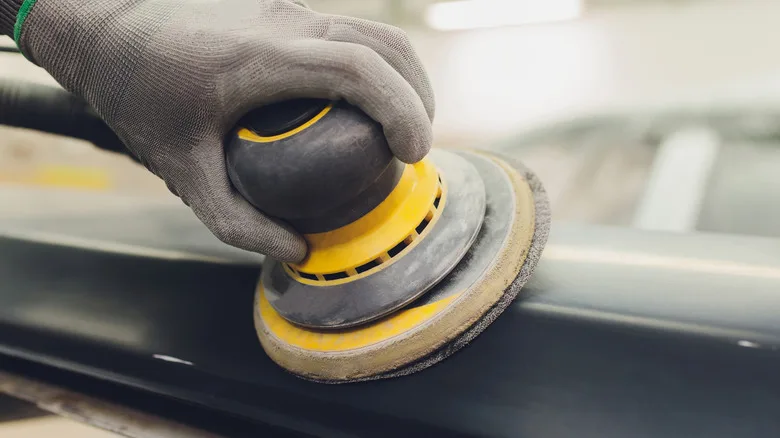
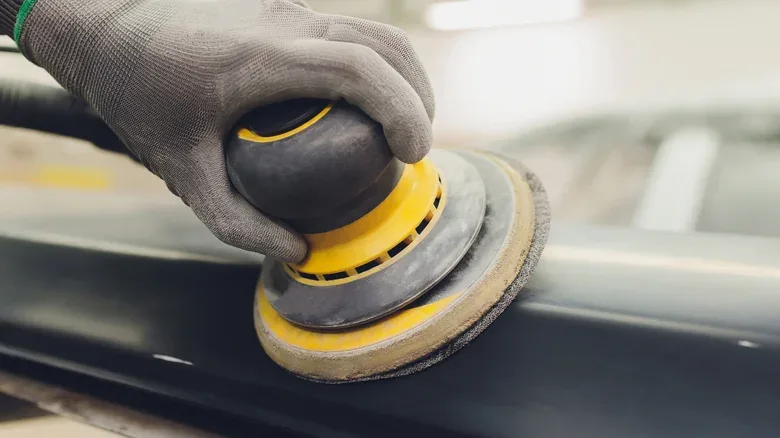
Start with a thorough clean: mild dish soap and water followed by 70–90% isopropyl alcohol on a lint-free cloth. Skip the fancy cleaners; they’re not necessary. Next, wet-sand the epoxy layer with 320–400-grit sandpaper, then finish with 600-grit.
The key is to abrade the surface just enough for primer to grip—press too hard, and you’ll burn through the resin and expose the weave, which is a nightmare to fix. If the weave starts to fray or feel rough, the part needs a fresh epoxy coat before priming. Clean off all sanding dust before moving on.
Primer is critical: forget spray-can primers or wood/plastic-specific products. Use a two-part (2K) automotive epoxy or urethane primer for maximum adhesion. Apply a light coat first, wait 5–10 minutes, then follow with a heavier coat.
Two to three coats are enough, but let each dry fully. For the base coat, urethane works best for solid colors, while 2K tinted clear coats highlight the weave. Stick to 2–4 thin coats, waiting 10–15 minutes between each.
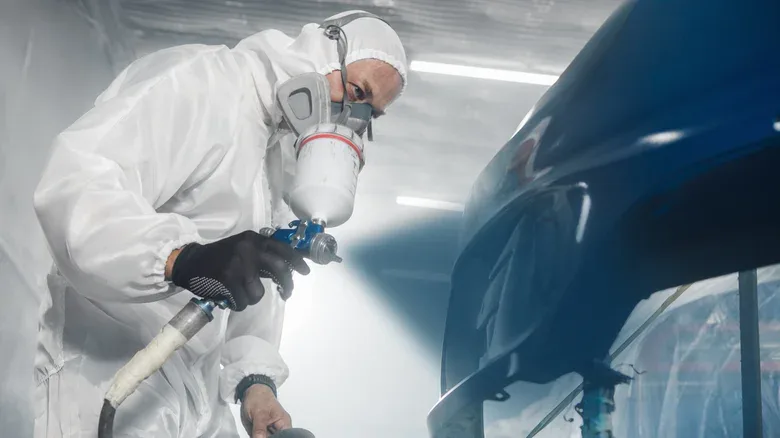
Follow the paint maker’s curing instructions. The clear coat is your final shield: use a two-part (2K) urethane clear with UV inhibitors to prevent fading and yellowing. Apply 2–3 layers, then wet-sand with 1500–3000-grit and polish to a mirror finish.
Like any painted surface, carbon fiber needs protection—regular waxing keeps bird droppings and tree sap from ruining the job. Skip the shortcuts, and you’ll end up with a factory-level finish that turns heads without the exotic price tag.
📱 Follow our Telegram channel for daily updates
Source: Jalopnik (Auto Culture & Tuning) (jalopnik.com)